Breast self-examination: the right action, at the right time
Breast cancer screening starts at home
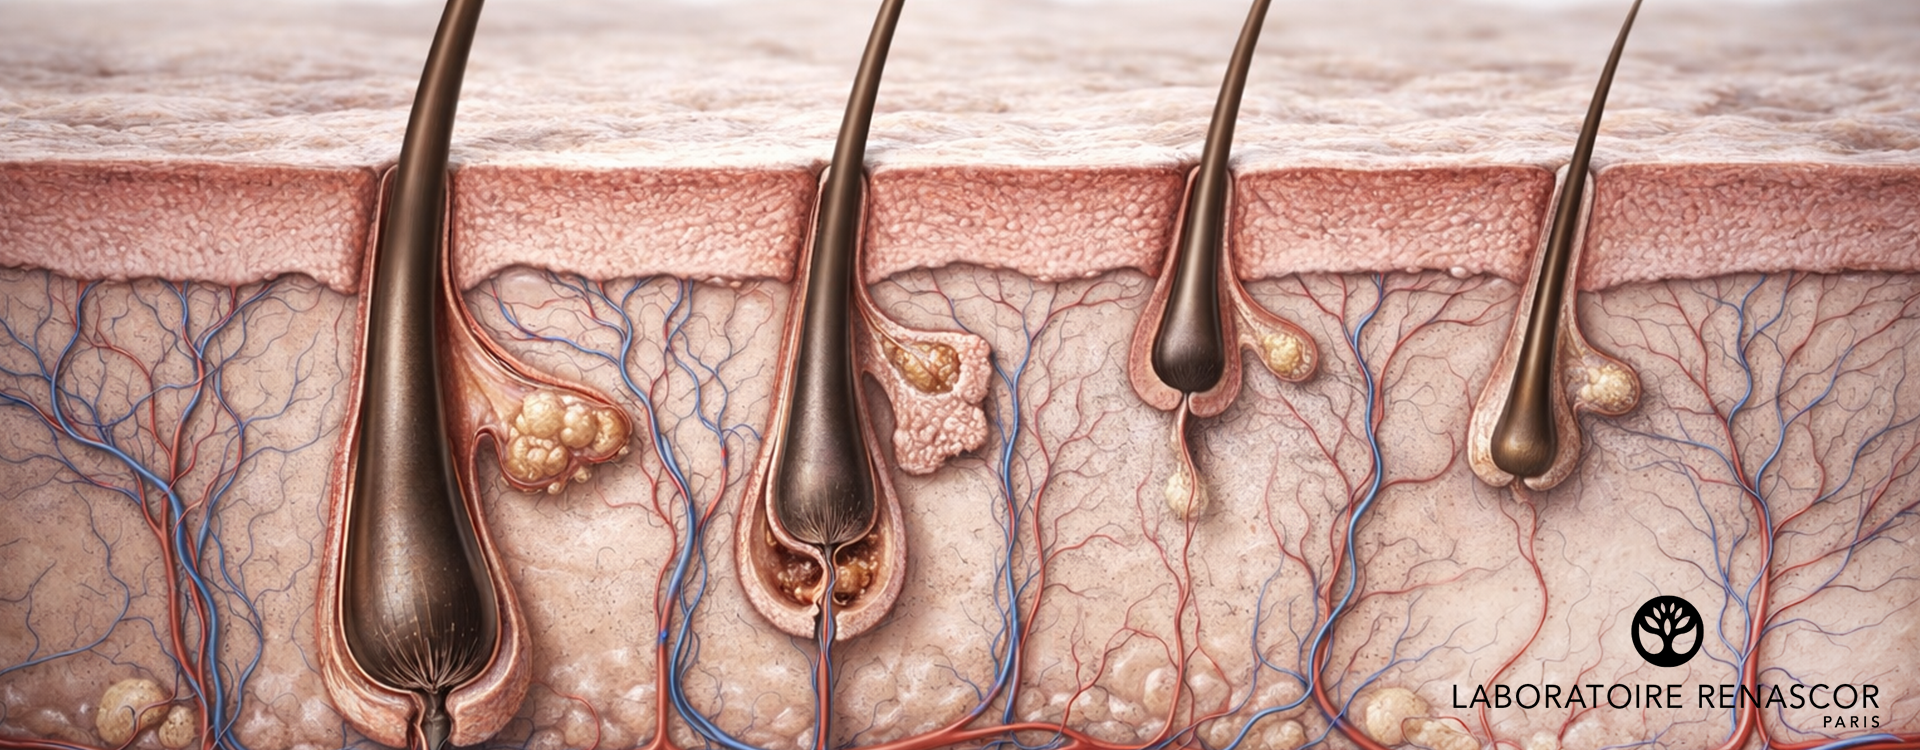
Breast cancer affects more than one woman in eight during her lifetime. Yet, in many cases, a simple preventive action can change the course of events: breast self-examination.
This action, performed regularly at home, allows you to detect a breast abnormality early and to alert your doctor before the disease progresses.
Getting to know your body already means protecting your health. It also means taking back control of your life and your femininity.
Why breast self-examination is essential
According to specialists, more than 60 % of breast abnormalities are discovered by women themselves.
Self-examination is therefore a simple and free tool to spot :
-
a lump or an unusual nodule,
-
a change in texture or a firmer area,
-
a nipple retraction or an abnormal discharge,
-
a persistent redness or a change in shape.
This practice does not replace the mammogram or the medical consultation, but it is their natural complement.
When performed each month, breast self-examination promotes early detection and significantly improves the chances of recovery.
How to perform breast self-examination correctly
Breast self-examination is a simple, free and accessible preventive measure for all women, to be performed once a month.
It requires neither equipment nor medical expertise, only a few minutes of mindful attention to your body.
Here is the complete method, step by step.
1. Visual inspection in front of a mirror
First, you should look at your breasts without touching them, to learn their usual shape.
Stand bare-chested facing a mirror, arms at your sides, then raise them above your head.
Look for any abnormalities:
-
a new asymmetry between the two breasts;
-
a localized deformation, a dimple, an area of retraction ;
-
a change in color (redness, inflammation, orange-peel skin) ;
-
a discharge from the nipple, or a change in its direction.
RENASCOR tip: the first time, note what is “normal” for you, so you can better detect changes in the following months.
2. Palpation while standing
This step is ideally performed in front of a mirror or in the shower, because wet skin makes it easier for the fingers to glide.
-
Raise your left arm above your head to examine your left breast with your right hand.
-
Place the three middle fingers flat (index, middle, ring), using the pads, not the tips.
-
Make slow, gradual circular movements, from the nipple outward, in a spiral.
-
Apply three levels of pressure :
-
light to examine the skin and superficial tissues,
-
medium to reach the intermediate area,
-
firmer to feel the deep tissues near the ribs.
-
-
Finishthrough the armpit area and the upper chest, where the lymph nodes are located.
RENASCOR tip: for greater accuracy, imagine your breast divided into four quadrants and palpate each quadrant systematically.
3. Palpation while lying down
Lie on your back with a cushion under the shoulder blade on the side being examined.
This position flattens the breast and makes it easier to detect deep masses.
-
Place your left arm behind your head.
-
With your right hand, repeat the circular motion over the entire left breast.
-
Palpate from the center outward, then from top to bottom.
-
Don't forget to check the inframammary fold (the natural crease under the breast).
Repeat on the other side.
Each full palpation takes about 3 to 5 minutes per breast.
4. The right time to do it
-
For menstruating women: between the 7th and 10th day of the cycle, when the breasts are less tender.
-
For postmenopausal women: choose a fixed day each month, easy to remember (e.g. the 1st or the 15th).
-